This article has not yet been rated.
To record a video for later use you have a couple of options. For more information on how to use Stream, click here
Desktop App Using Teams
1. Go to calendar within the Teams desktop app
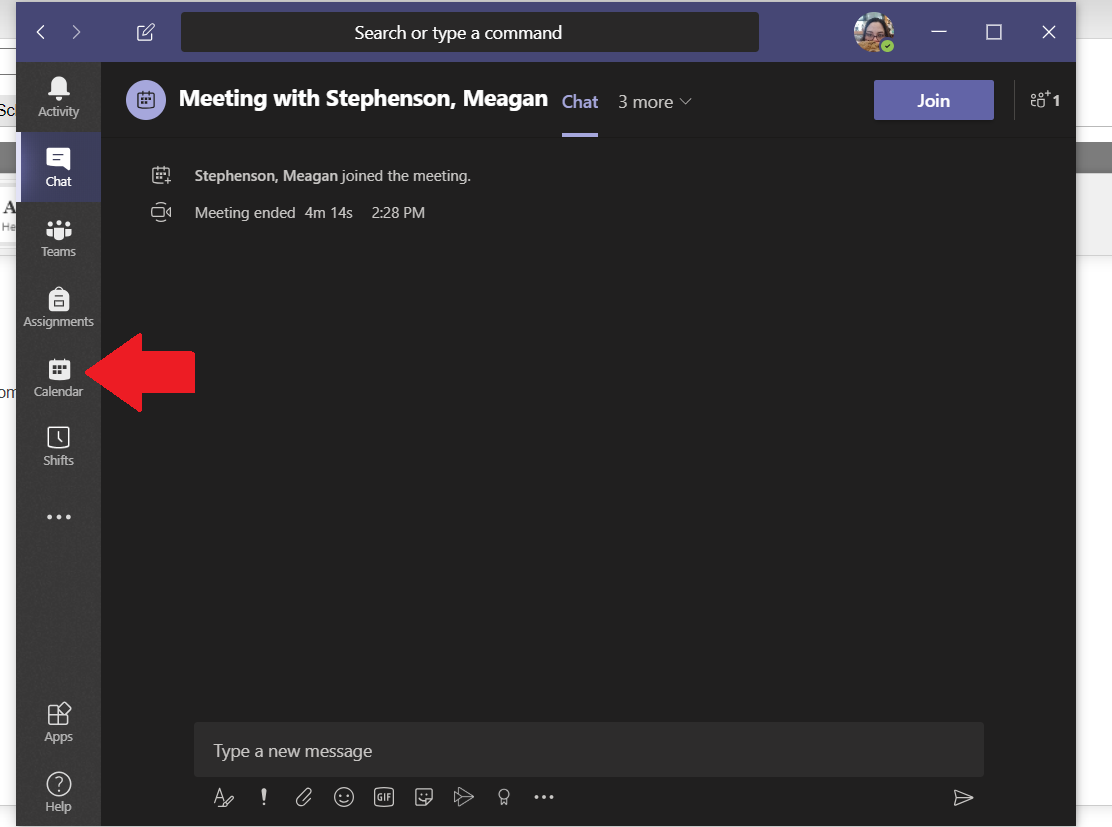
2. Select Meet Now

3. Don't invite anyone else to your meeting, use the More Actions  and select Start Recording
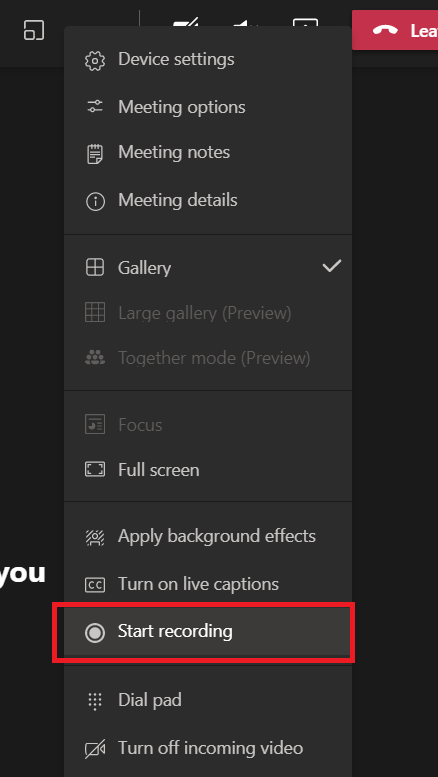
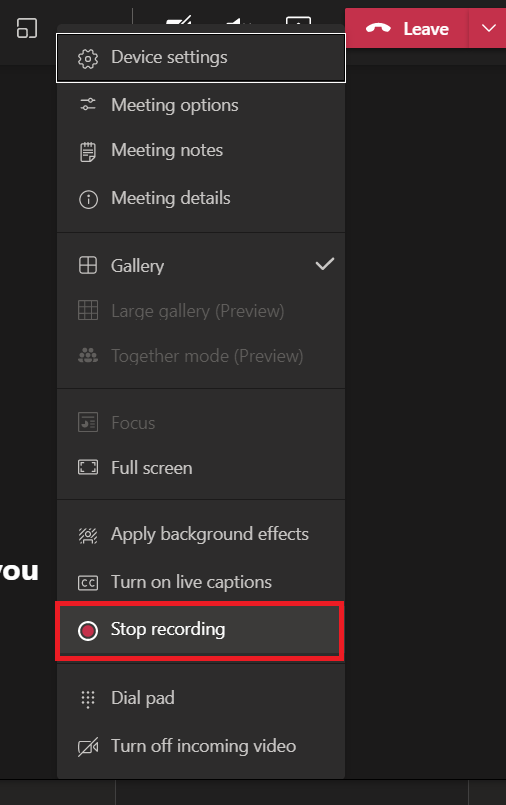
3. The recording will show your video until you begin sharing your presentation on screen. Once you have completed your recording return to the More Actions (three dots in center of toolbar) and select Stop Recording
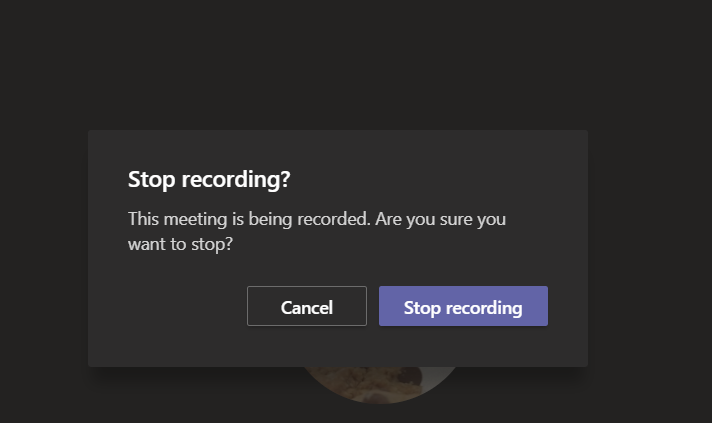
4. Teams will want you to be sure
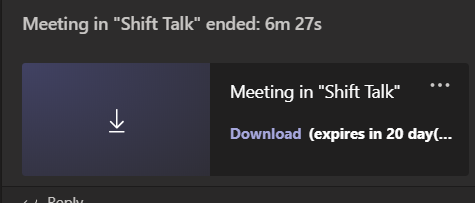
5. Once you've finalized your recordings you will get a friendly message reminding you where your recording can be found.

6. Your recording can be found in the meeting chat (just like any other meeting chat window) It will be available for 21 days for you to download and share to Stream
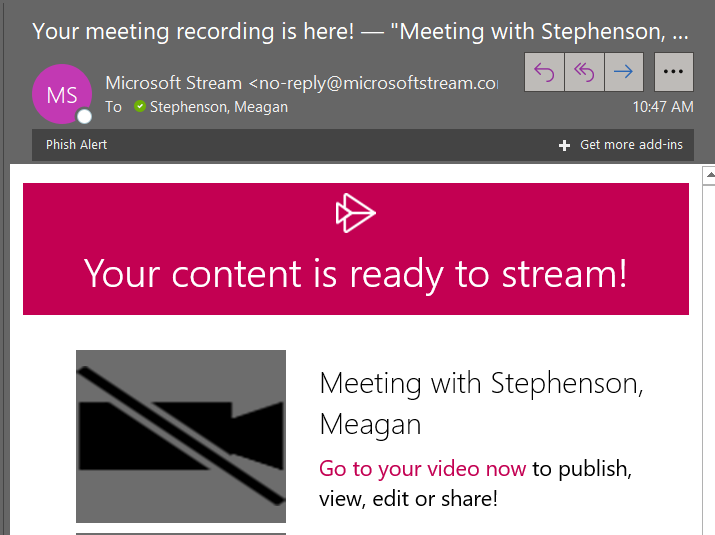
Alternatively, depending on what stage of Microsoft stream/Team rollouts you are in you may get this email message.
Using Teams Mobile App
On either Android or iPhone
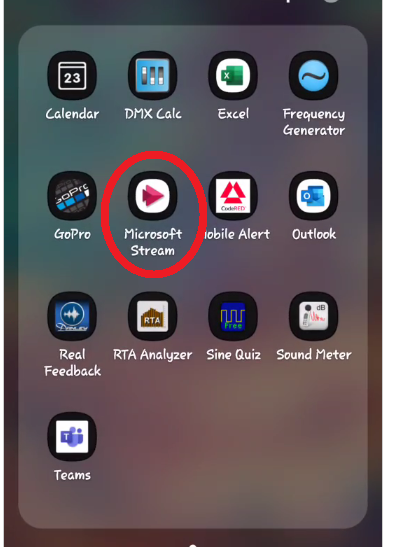
1. Open the Microsoft stream app
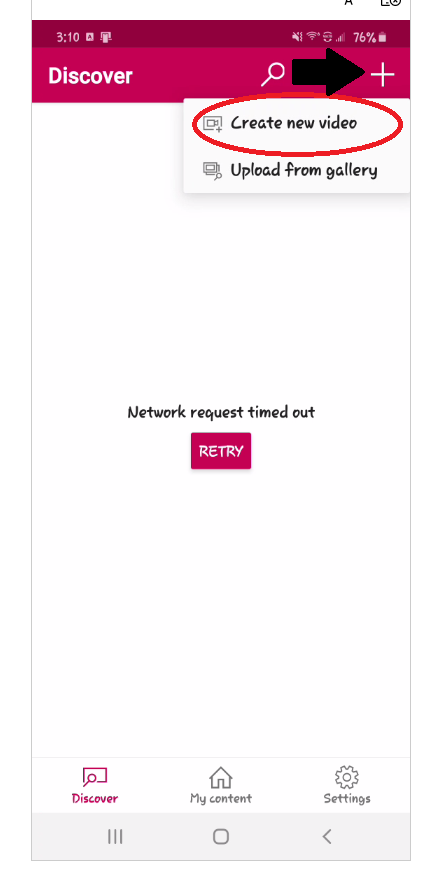
2. Select +, then Create new video from the list that pops up at the bottom
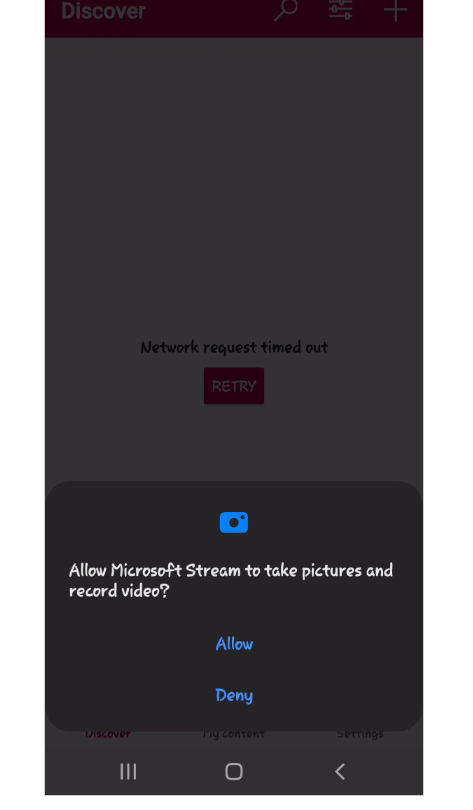
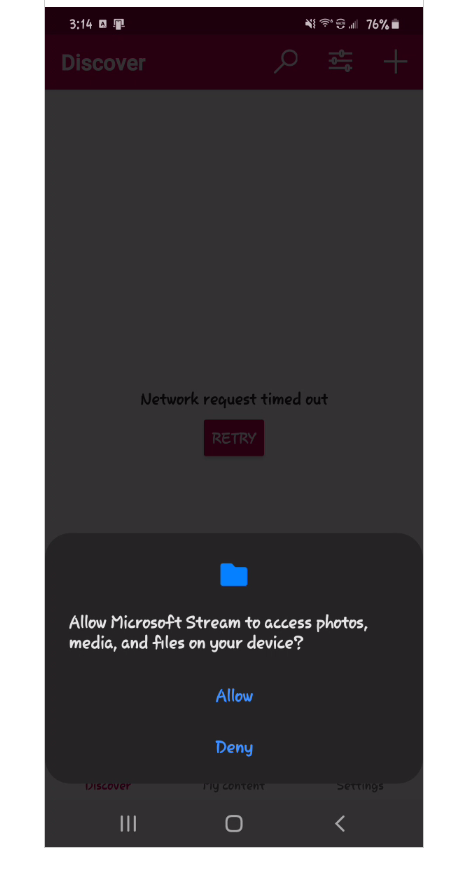
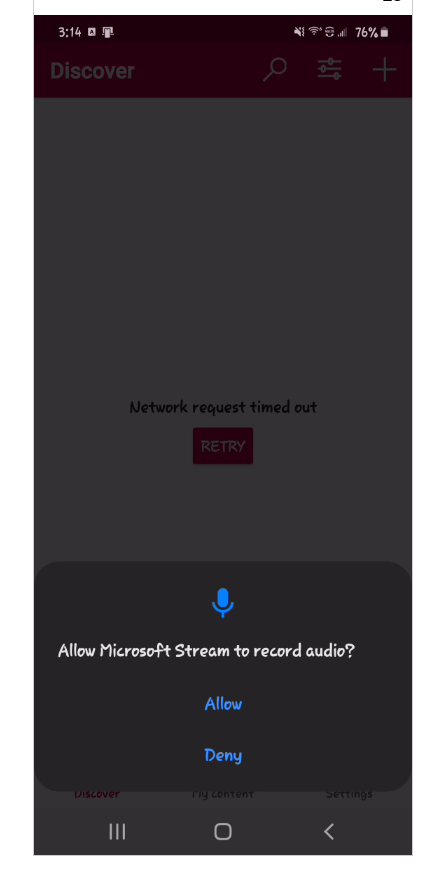
3. You will need to allow Stream to access your camera, microphone and photos
4. You are able to switch the camera using  so you have world view
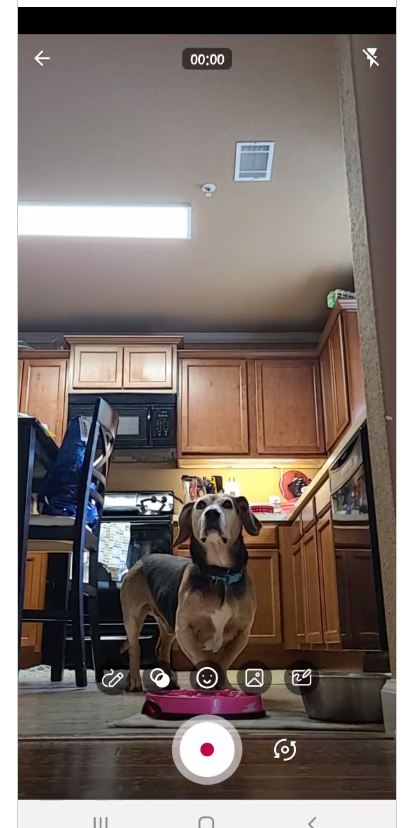
Or selfie view
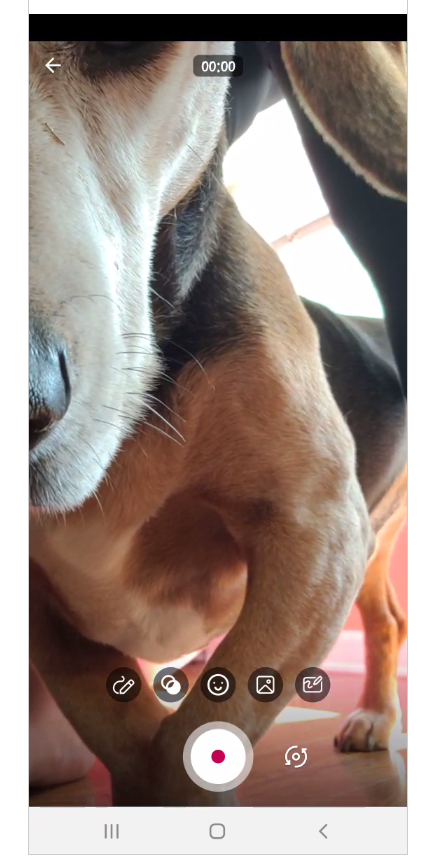
5. Select  to begin recording
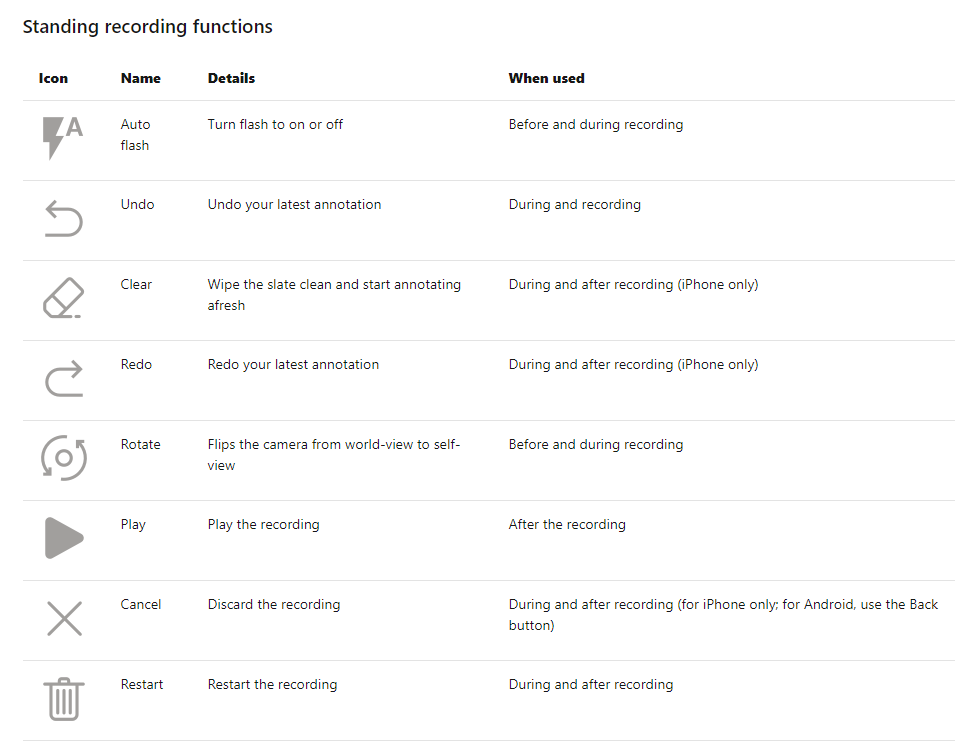
6. To learn more about editing on Mobile go here and below you can find a cheat sheet on recording symbols
Recording in PowerPoint
This is a good option if your lecture occurs over a Powerpoint presentation, you are able to record your screen and your narration at the same time. You will be able to export these recordings into a video and upload it to your Stream
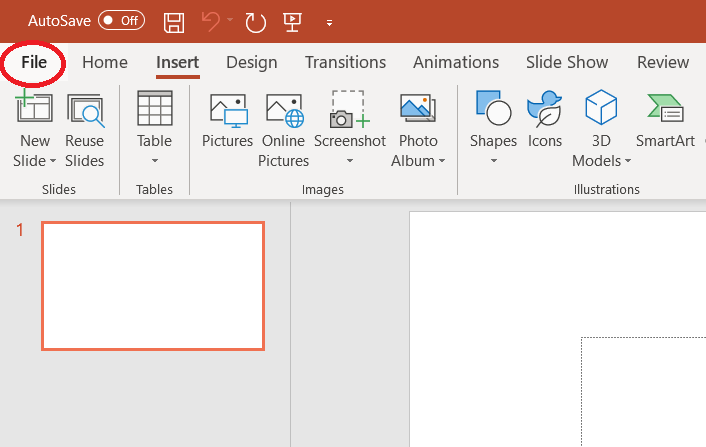
1. First we'll need to turn on the Recording tab of the ribbon: Select File
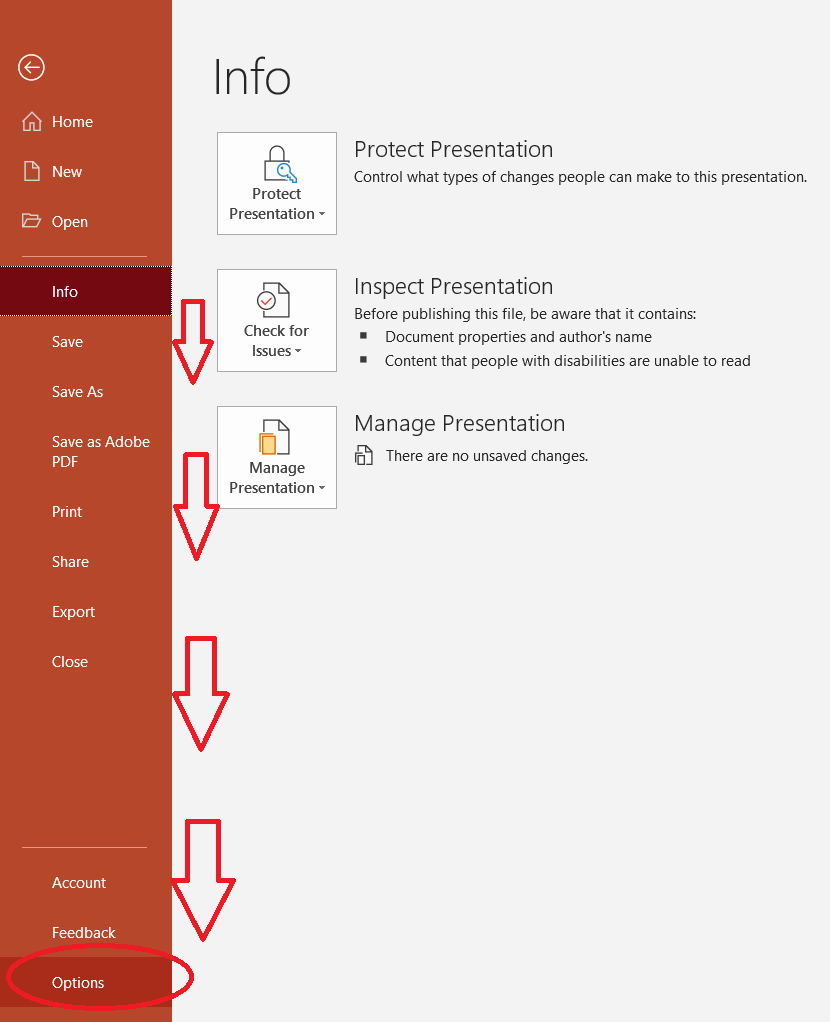
2. Select Options from this screen, it is located at the bottom
3. Click Customize Ribbon on the left tab. In the right-hand box lists the available ribbon tabs, select Recording and click OK
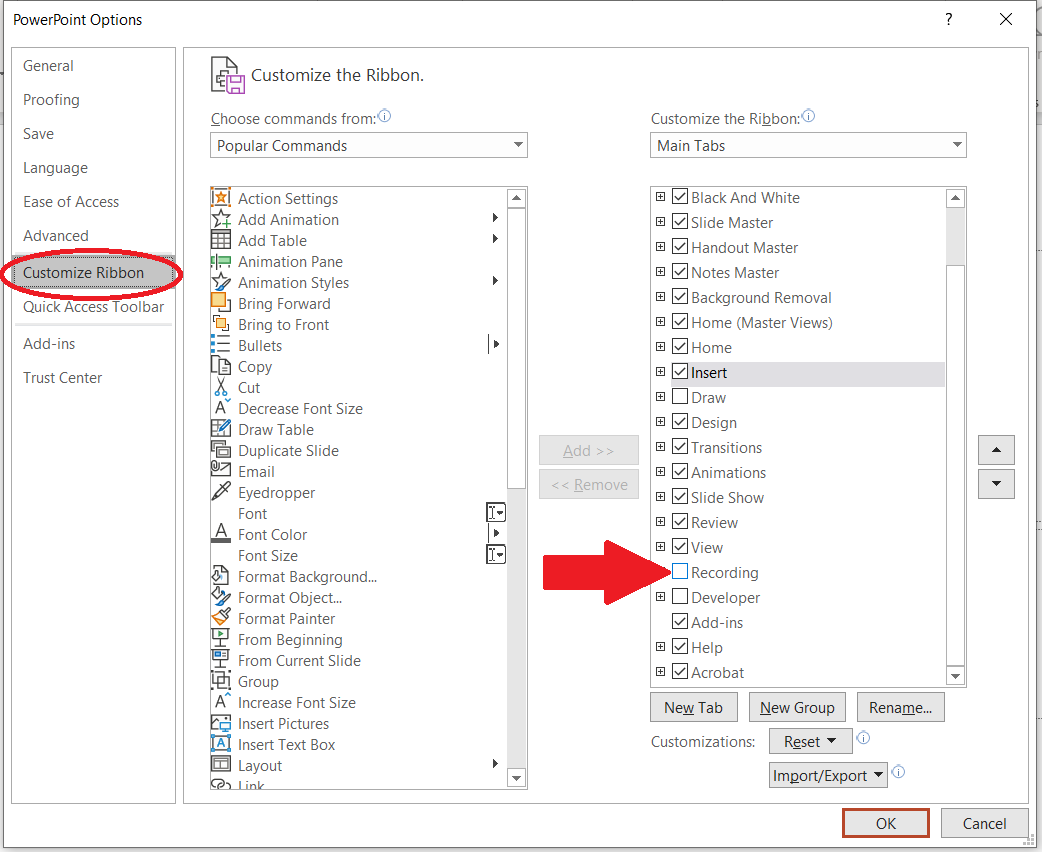
4. To get ready to record, select Record Slide Show on either the Recording tab or the Slide Show tab of the ribbon
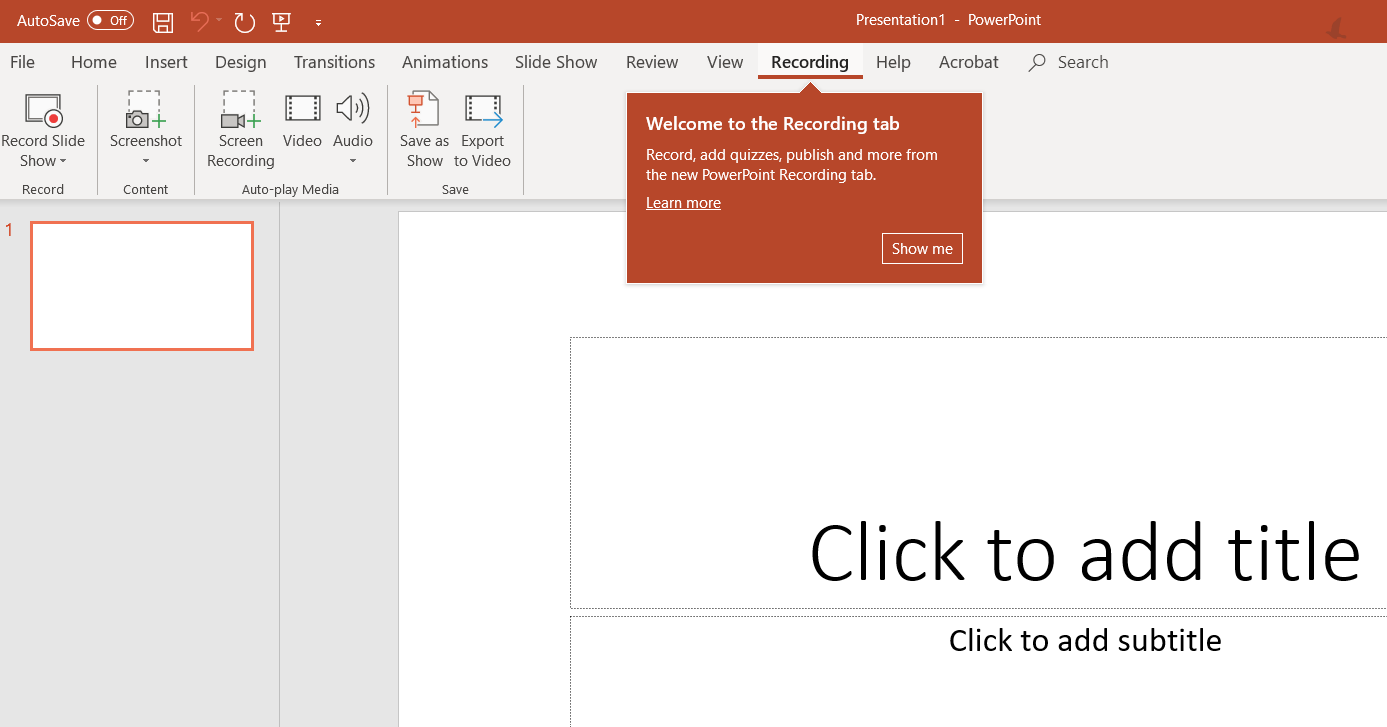
Click here for a recording in PowerPoint about how to record in PowerPoint
6. Once you've got your lecture recorded you will need to prepare it for Export to Video
A. Select the Transitions Tab,on the right of the window is the Advance Slide options. Deselect On Mouse Click and select the after, the time should be automatically filled based on the recording length included in the selected slide. This can be manipulated if there is a lot of information included on the slide you wish the audience to review more thoroughly. Repeat with the following slides

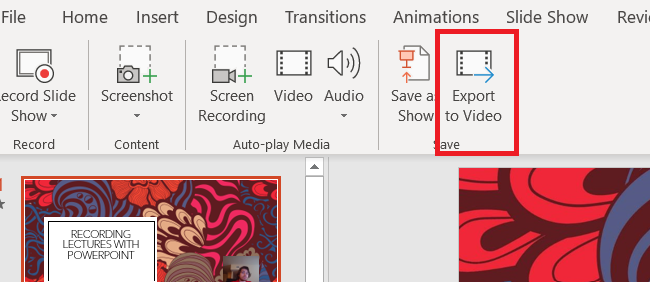
7. There are two ways to export to video
A. From the Record ribbon you can select Export
B. Select File then Export on the bottom of the options then select Create a Video
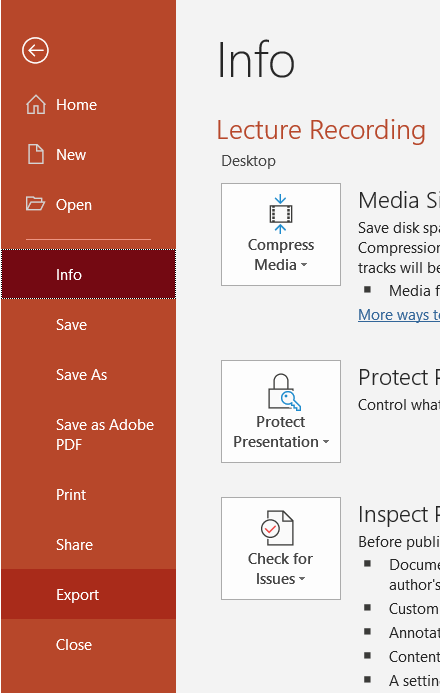
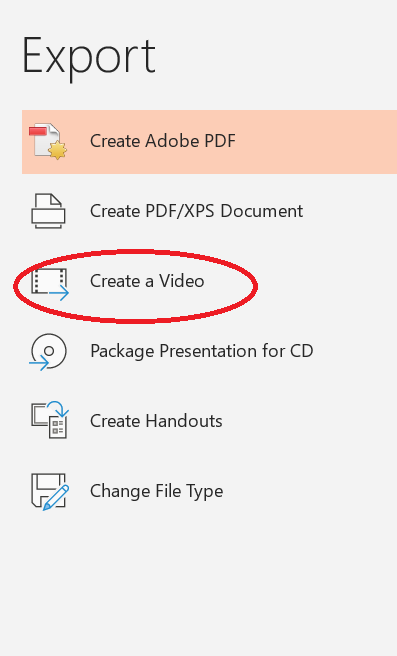
8. You will now be at the export screen, here you will select your export quality and to use the Recorded Timings and Narrations that you set up in the previous step.
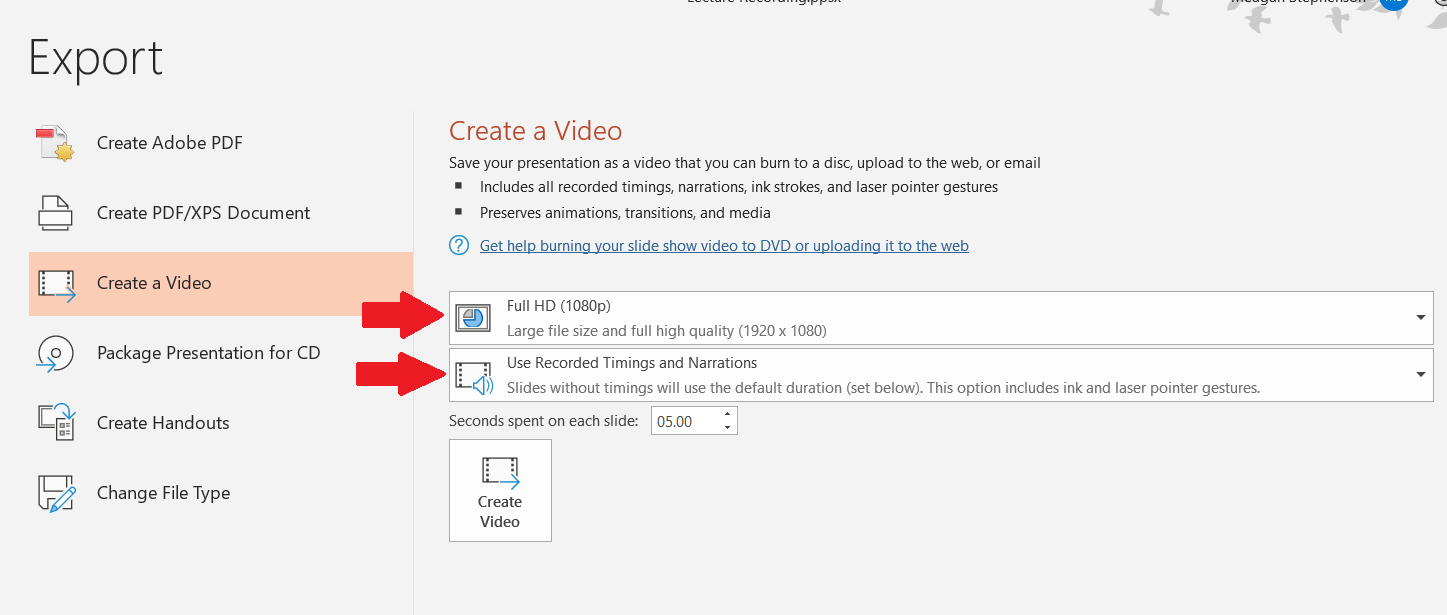
9. Select Create Video and you will have a mp4 you can upload to your stream
A similar method to this is using the Screen record feature located in Stream, read about here
Using Native or 3rd Party Recording options
Record your screen using a mac
OBS is an open source product for video recording and live streaming. You can download that here
Videos made on either of these programs can also be uploaded and distributed by Stream.