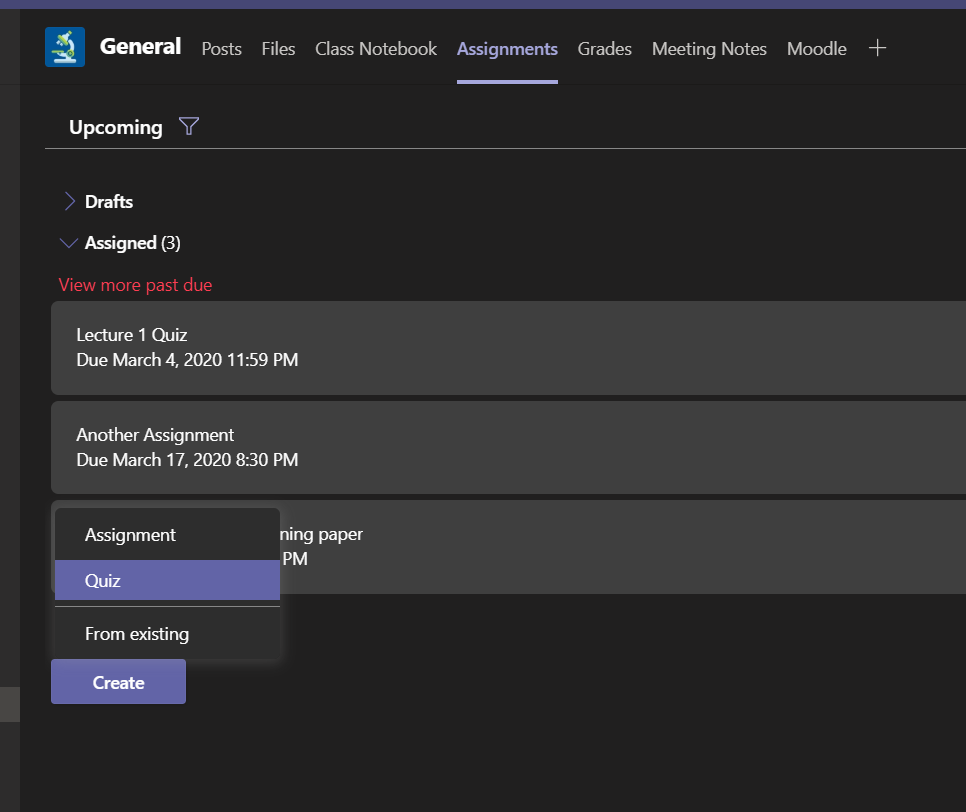
In the General channel, select the Assignments tab. Select the arrow for the Create dropdown menu,
3. Select an existing quiz or create a new one. Use the search bar if you don't see the quiz you're looking for right away.
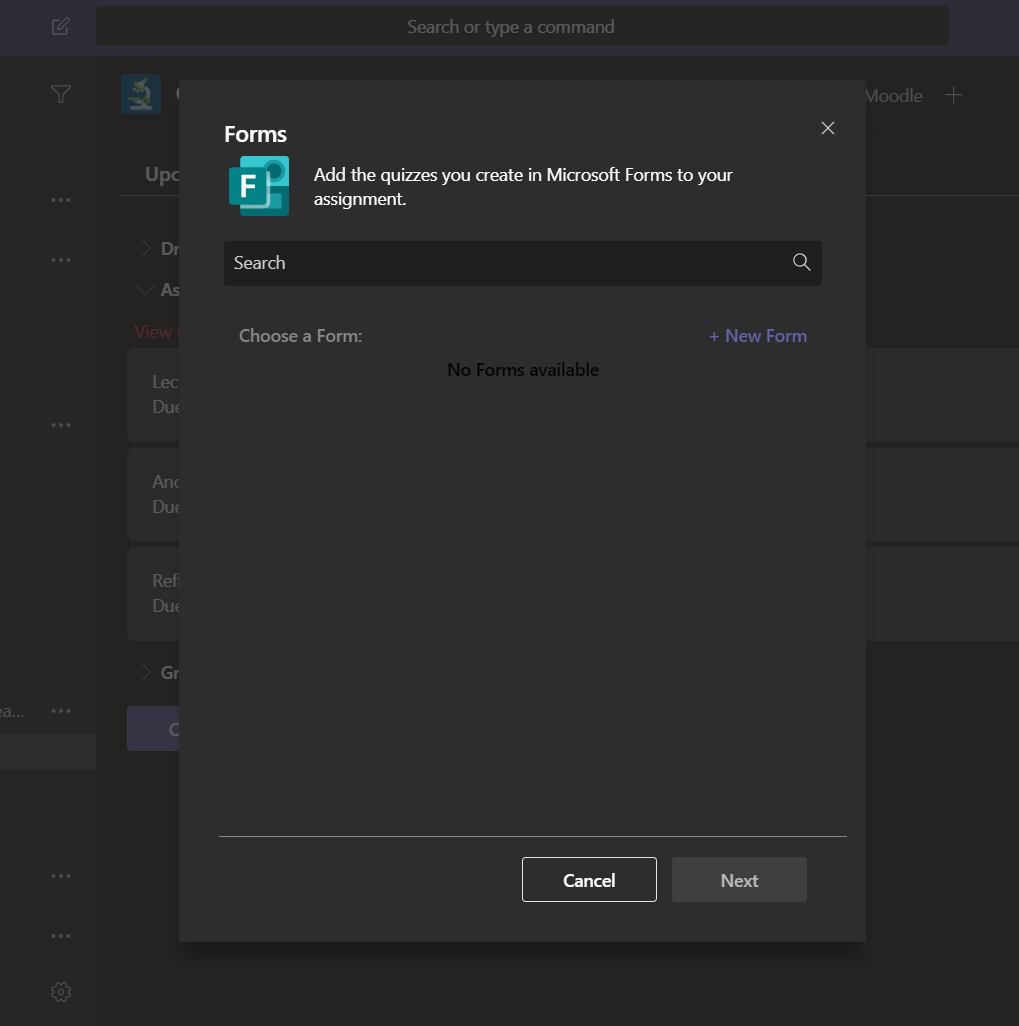
Note: If you select +New Form, a new web browser window will open on your device at http://forms.microsoft.com. Continue to follow the instructions below to create a new quiz.
1.Navigate to the forms homepage https://forms.office.com/
2. Select New Quiz from the dropdown menu

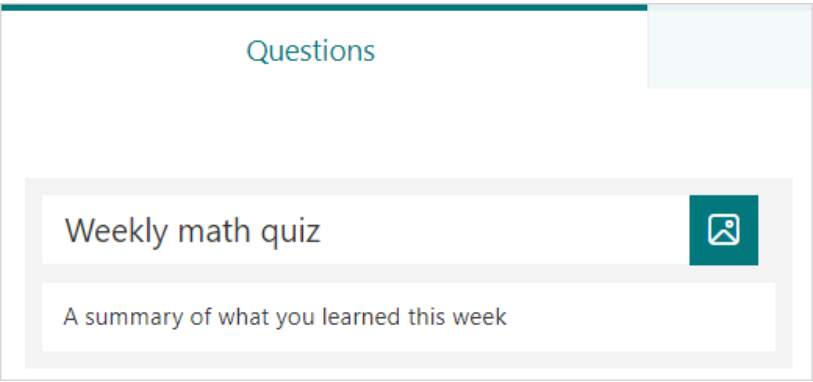
2. Enter a name for your quiz and a description if you would like
Note: Quiz Titles can contain up to 90 characters and descriptions can have up to 1000
Note: Quizzes are automatically saved as you create them
![]()
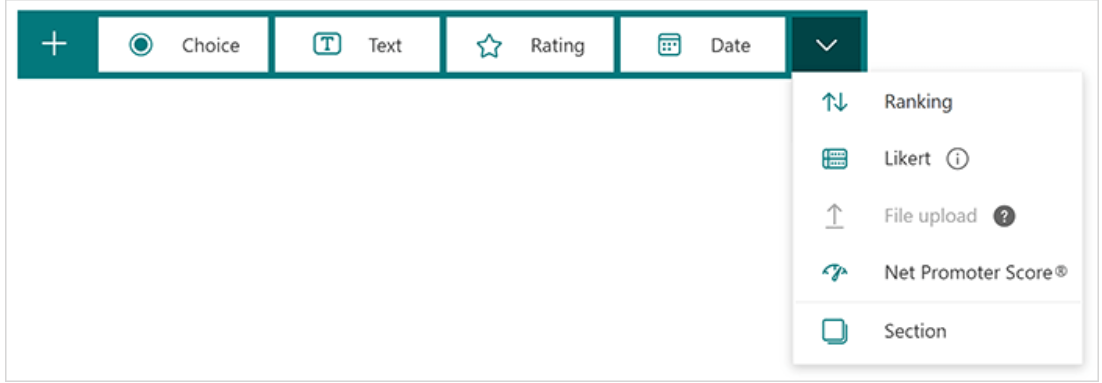
1. Select +Add New to add a new question to your quiz
2. Choose what kind of question you want to add, such as Choice, Text, Rating, or Date questions. Select More question types  for Ranking, Likert, File upload, or Net Promoter Score® question types. To organize sections for your questions, select Section.
Note: You can also format your text. Highlight a word or words, and then choose bold, italics, or underline from the floating toolbar. Or, use keyboard shortcuts (CTRL/Cmd+B for bold, CTRL/Cmd+I for italics, and CTRL/Cmd+U for underline) to format. Text formatting is gradually rolling out and will be available soon.
Note: File upload is not available for GCC, GCC High or DoD environments
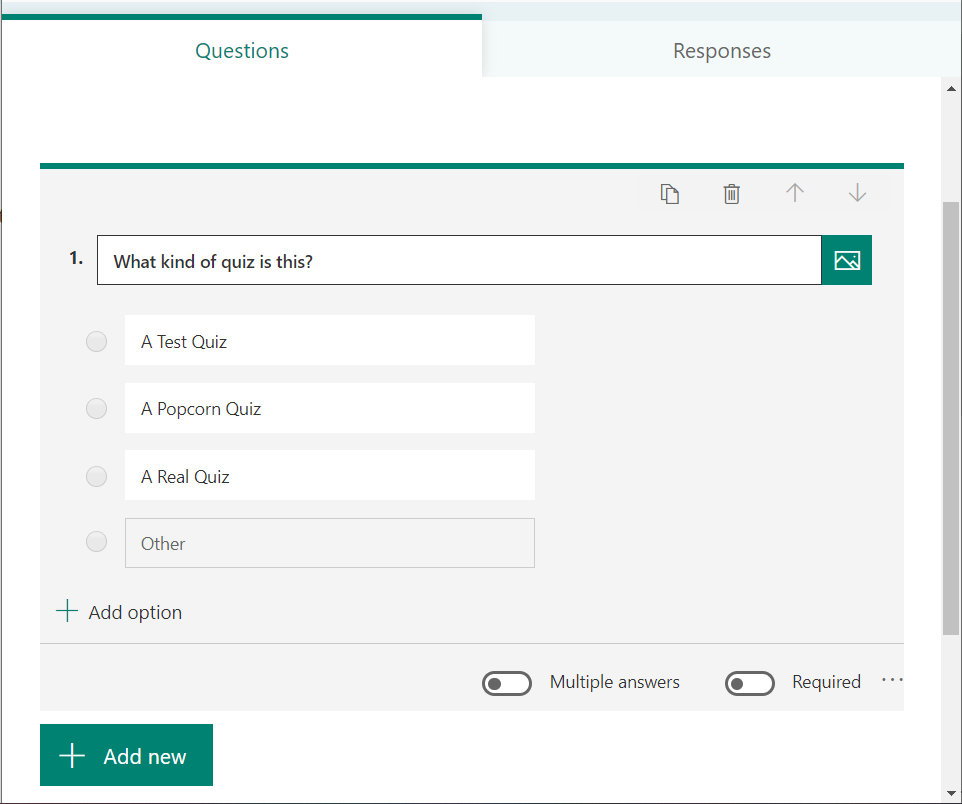
3. Using the Choice Question type as an example, add your questions and answers. Select the +Add option to add more answer options
4. Select the Correct Answer check mark next to the correct answer or answers
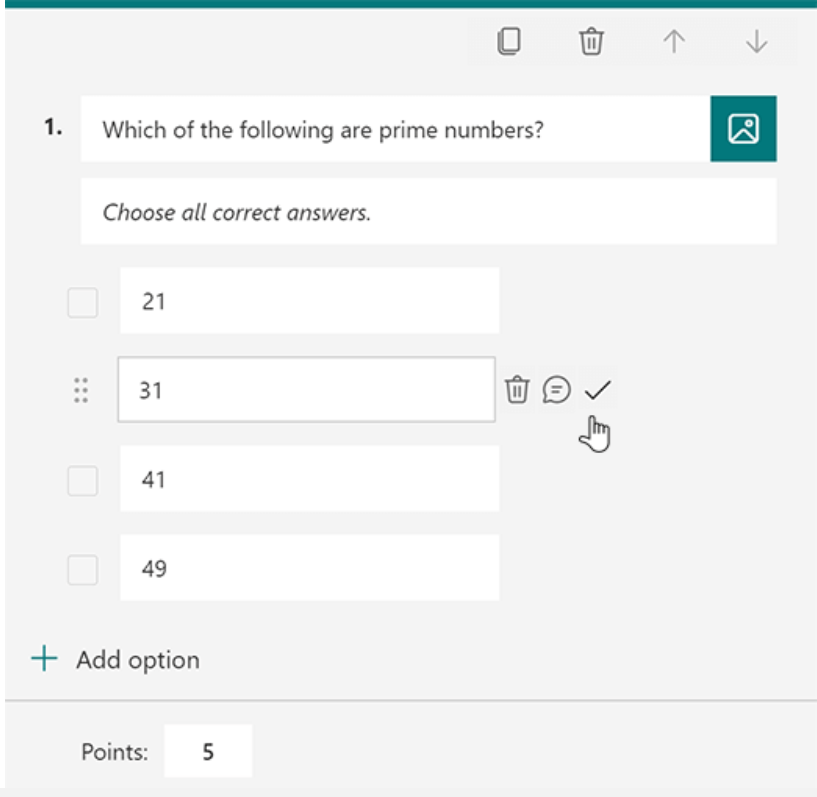
To remove an answer, select the trash can button next to it. You can also choose to make a question required or allow multiple choices for a question by changing the settings at the bottom of the question.
5. Add a number in the Points text box to assign a point value for a correct answer to the quiz question.
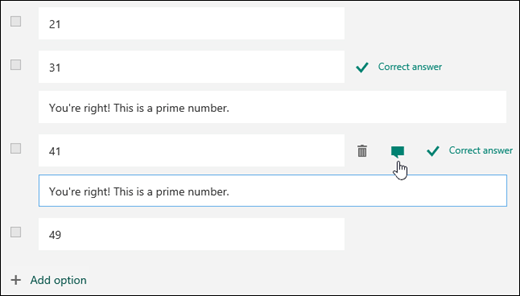
6. Select the Message icon next to any answer if you want to customize a message for it. Respondents will see the message when they've selected that answer.
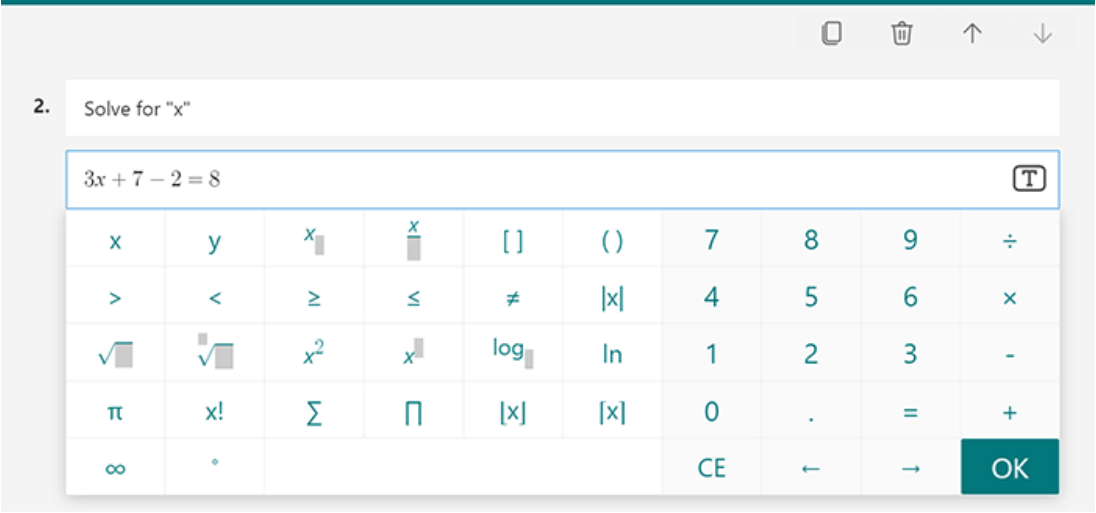
7. To display math formulas, select More settings for question  > Math.
8. Select Enter an equation to trigger various math symbols and formula options to use in your quiz.
Select Preview to see how your quiz will look on a Computer or Mobile device.
To test out your quiz, answer the questions in Preview mode, and the select Submit.
To keep editing your quiz, select Back.