This article has not yet been rated.
Each Team has it's own OneDrive storage space. This means you can share files, documents, videos, links and all sorts of other materials with your class and save a copy for later
To Post a link to a Webpage
1. Go to a new threaded discussion or a reply to an existing one in your team.
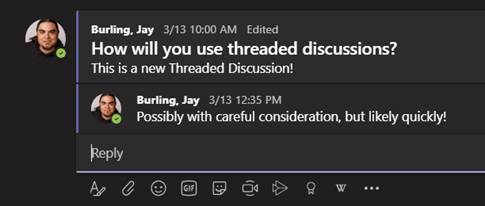
2. Get the link you want to share and paste it into the message box.
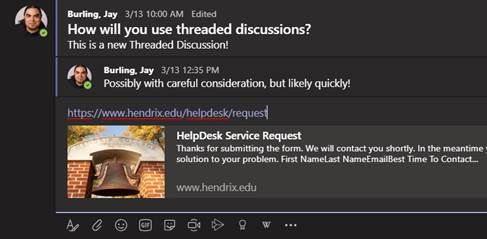
3. Hit enter or click send.
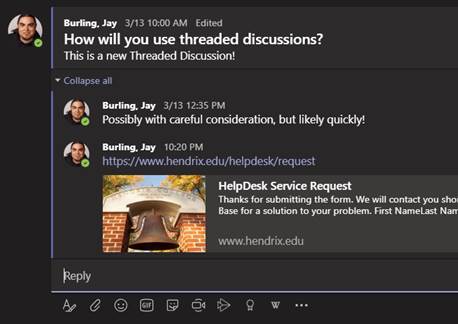
Posting Read-Only File (Class Materials)
You can post most types of files to your class as either collaborative files, or as class materials that only an instructor may edit.
1. Go to the Tab Bar in your channel, click Files
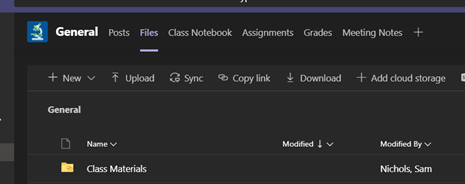
2. Click the folder Class Materials folder. This is a special folder for files that only the instructor has permission to edit. Students can only view the files. Click Upload to open the upload box.
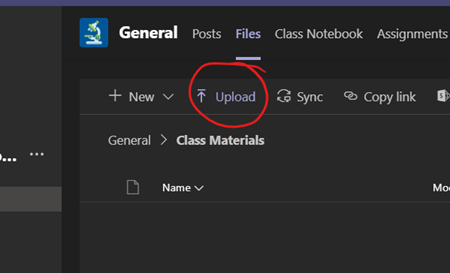
3. Select the files (or files) you wish to upload and click Open.
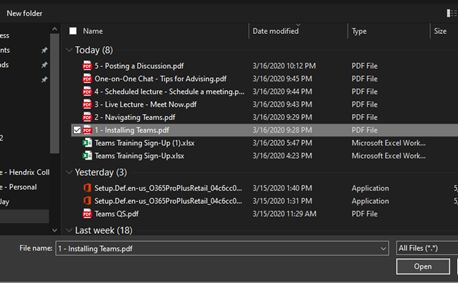
4. Your file is uploaded to the Team
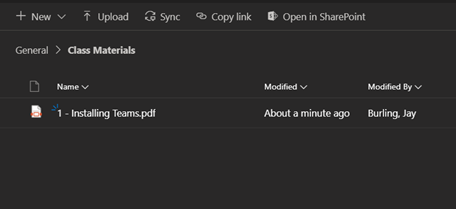
5. To start a conversation about the material you’ve uploaded, open it by clicking on it, and then click Start Conversation.
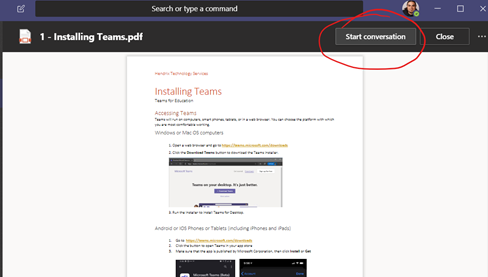
6. This will open a message box for you to start a threaded discussion and post it to your channel.
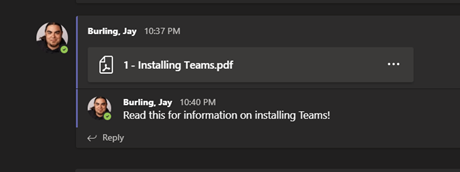
Posting a Collaborative Document
Go to the tab bar in your channel, Click Files.
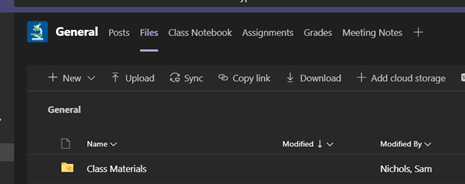
2. Upload your file to any folder except for Class Materials. You may also create a new document (or folder) by clicking the + New button next to upload.
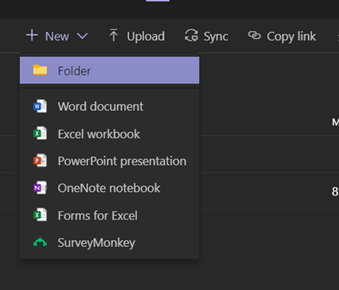
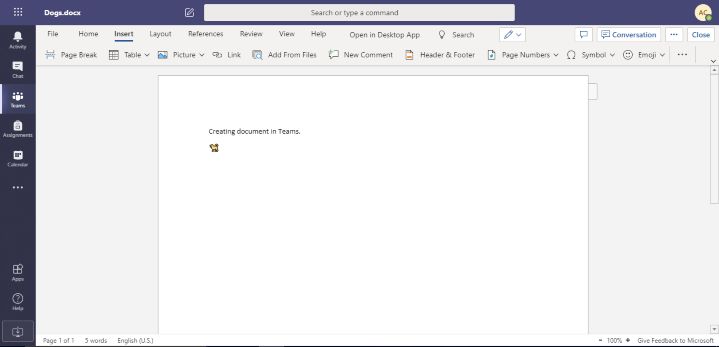
3. After selecting the type of file you would like to create, name it and click create. You will then be able to edit the document in teams. Creating a Word Document will look like this:
4. Once you have created your document, it will appear in the list of files. You can click the small checkbox to select the document to bring up the toolbar. The three dots at the far right include more options for what you can do with the document, including moving it to a new folder in the Teams files for this Team channel.
5. Once shared, you and other members of the team will be able to click on the title of the document to preview it in Teams. You can then click Edit to open the document in Sharepoint where users can collaboratively edit the document.

Downloading Files from Teams Files Tab
- Click the option to Download in the toolbar at the top.
- The files downloaded will be the files included in the Files tab of a certain channel. The files downloaded here are the files from the General tab. All files and folders will be downloaded as a zip file.
- Click the file to open it. It will open in File Explorer. In File Explorer, click extract and select a destination for the extracted files. You will be able to access the files you have downloaded after the extraction from the zip file is complete.
