2
out of
2
found this helpful.
Screen capture can be used to select and save any portion of your screen as an image that can be saved to be used for technical troubleshooting or for PowerPoints or any other place you need to save a simple image from your computer.
1. Press keys Windows + Shift + S to start.
2. At the top of the screen you will see a Snip & Sketch toolbar. You an choose to select a rectangle (shown), a freehand snip, a single app window or the full screen, as shown in order.

3. You will see a cross-hatch on the screen; use it to select the area you want to save as an image.

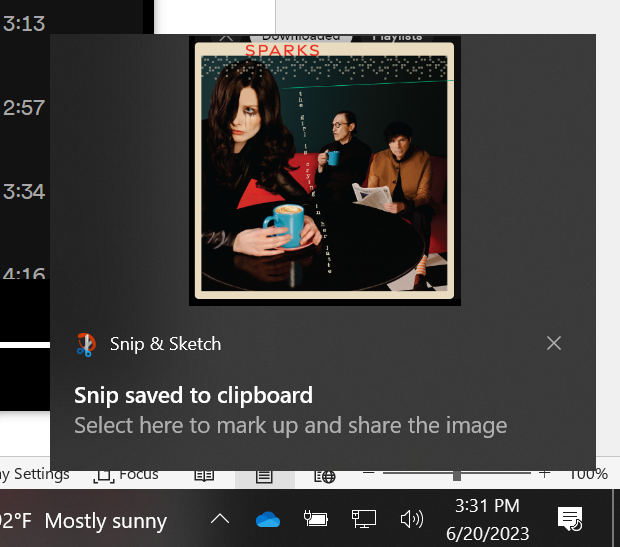
4. The image you selected will appear in a popup in the lower right of your primary screen. You can immediately Paste (Ctrl + V) the image into a document, or...

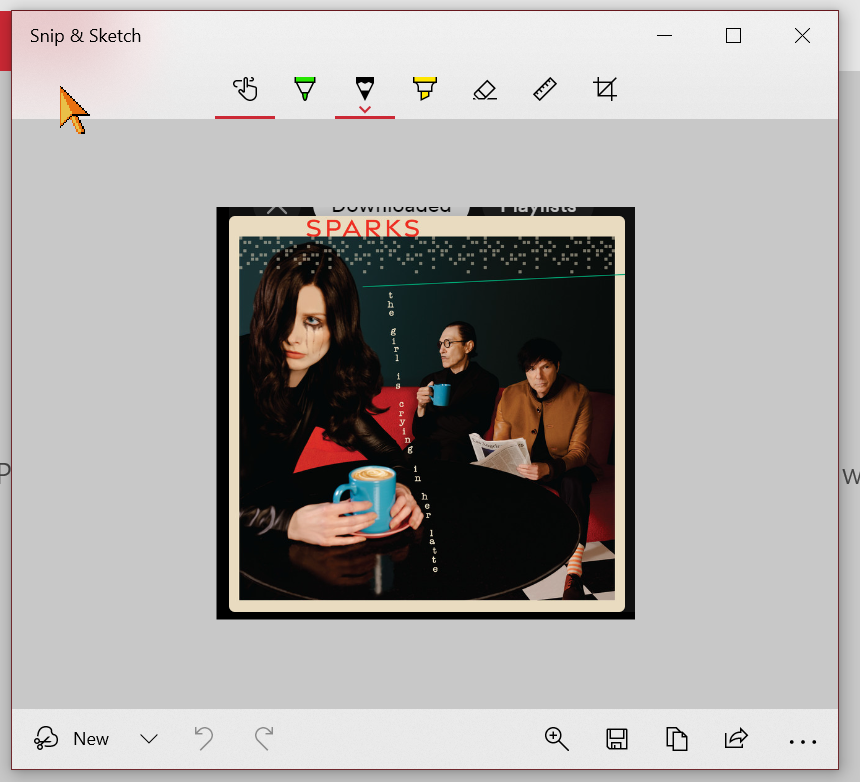
5. Click on the text or image to open the Snip & Sketch app to annotate or save the image to a folder.
